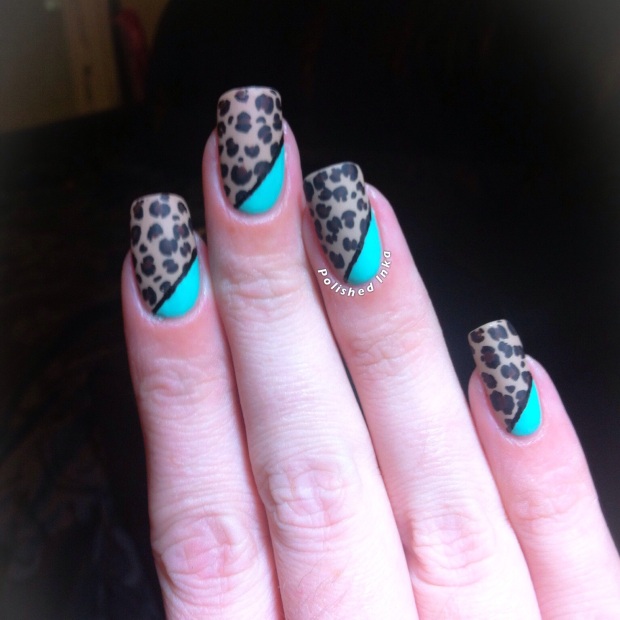
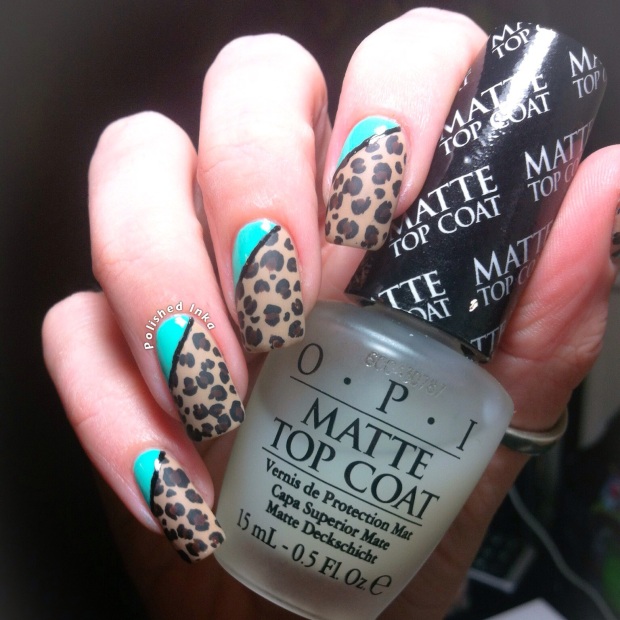
Sorry for the title! I had no idea what to call this design but it was based on a really gorgeous shoe I had seen on the internet that had leopard print soles!
Leopard Print nails are so striking and really easy to do for beginners to nail art as they aren’t neat and don’t need to be a uniformed pattern across all nails. Also most people love a bit of leopard print wether in tradition colours or neons.
To start this design I used Barry M – Caramel, from the Matte collection. If you don’t own a matte top coat their Matte collection is fab with some beautiful colours to choose from.
As I have a tutorial coming up in this post I won’t drag out the words. Here is my Leopard Print Sole design.
This is a really easy design to do, you will need a dotting tool, a black nail art pen (I used the Barry M one) and some striping tape or a straight nail vinyl.

Step 1. Paint base colour.
Step 2. Use dotting tool to dot another colour randomly over the nail.
Step 3. Use a nail art pen to complete the leopard print pattern around each dot.
Step 4. Use striping tape to section of your chosen area then paint your contrasting polish in the area.
Step 5. Using the nail art pen draw a line across the edge of the contrast colour. You don’t have to do this but I felt it looked better.
Step 6. Having already put a top coat on get a Matte top coat and matte the leopard print area leaving the rest glossy.
I hope this made sense, I’m sure you can tell what I did from looking at the pictures anyway. Enjoy xx


